Odds and Ends
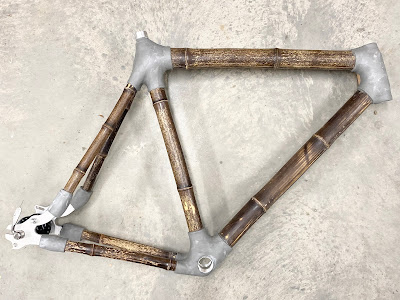
Here are some specs to the smaller parts like cable guides and stops (see link below for images).
The cable guide under the bottom bracket is a shaped piece of Sapele hardwood which is again scrap material I have in the shop. The size of it is quite large but it does have a hole drilled through it with a small plastic tube to guide the shifter cable from the front of the bike to the rear. It is epoxied on with PC-7 and has been drilled with small holes for interlocking.
The other cable guides and stops like on the top tube, chain stay and head tube area are all Oak dowels which have been drilled with holes and sanded to match the profile of the surface they are epoxied to. I always drill small holes on these parts as well to help the epoxy interlock.
In general when placing cable guides one is after having no extreme turns or angles for the cable to travel in so trying to make straight and gradually changing angles are best. There is no front derailleur here on this bike so that simplifies the process tremendously.
On each cable stop like on the chain stay I drill one hole the diameter of the plastic cable housing while another hole on the other end at the diameter of the cable itself. The first hole for the cable housing is about 1/8 deep more or less. This is enough to hold it in place. The important thing here is to make sure both holes are centered so the cable runs through them smoothly.
Adding these finishing touches is fun because despite their small size and rather straight-forward placement they help add the final functionality of your frame like shifting and braking.
The Process link
The Process link

Comments
Post a Comment